
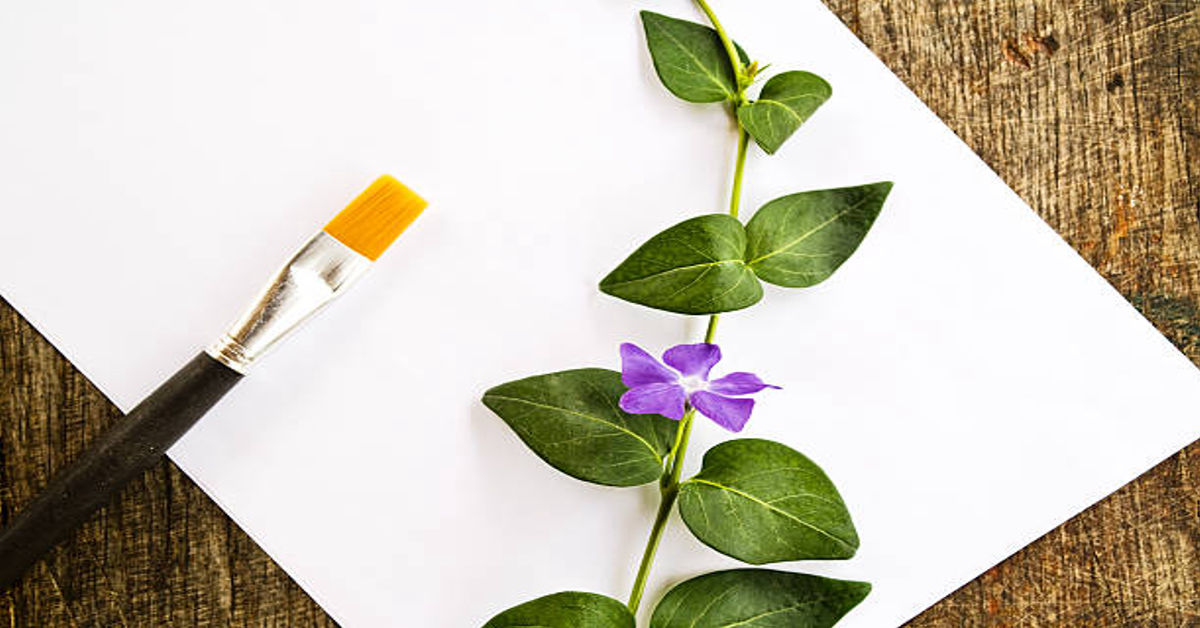

Drawing flowers has been a beloved art form for centuries, capturing the fragile beauty of nature through lines, shapes, and colors. Whether it’s a simple daisy sketched in a notebook or an intricate bouquet rendered in watercolor, flower drawing is both relaxing and deeply expressive. It connects observation with imagination, technique with feeling. In this guide, we will explore everything you need to know about flower drawing — from tools and methods to artistic interpretation, symbolism, and creative tips.
1. Understanding the Art of Flower Drawing
Flower drawing isn’t just about copying what you see; it’s about translating natural beauty into art. Every petal, stem, and curve carries a rhythm, a visual harmony that reflects the essence of life. Artists often turn to flowers because they offer endless possibilities for color, form, and composition. A single rose can evoke romance and delicacy, while a sunflower may represent joy and vitality.
Drawing flowers teaches patience and observation. You begin to notice how petals overlap, how shadows fall, and how even the simplest bloom can have intricate geometry. This sensitivity to detail strengthens not only your drawing skills but also your understanding of proportion, symmetry, and organic structure.
2. Tools and Materials for Flower Drawing
Before starting your flower drawing journey, having the right tools is essential. Each tool contributes to different textures, line qualities, and shading effects. Below is a table outlining essential and optional tools for both beginners and experienced artists.
| Category | Tools | Purpose |
|---|---|---|
| Basic Drawing | HB, 2B, 4B, 6B pencils | Creating outlines, shading, and depth |
| Paper | Sketchbook (100–200 gsm), textured paper | Provides surface for smooth or detailed work |
| Erasers | Kneaded eraser, vinyl eraser | Lifting graphite, refining highlights |
| Color Tools | Colored pencils, markers, watercolor pencils | Adding color, blending, or mixed media effects |
| Additional Tools | Blending stump, ruler, sharpener | For smooth shading and accurate lines |
Each artist has personal preferences; some prefer graphite for subtle tonal drawings, while others love colored pencils for vibrancy. Digital artists might use tablets and styluses to mimic natural drawing techniques. The medium doesn’t matter as much as the intention — to capture the beauty of flowers with clarity and creativity.
3. Anatomy of Flowers: Observing Structure
Before drawing, observation is key. Flowers have a unique anatomy that follows patterns of growth and proportion. Understanding the basic parts helps you create realistic drawings even without direct references.
| Flower Part | Description | Drawing Focus |
|---|---|---|
| Petals | Soft, often curved parts forming the bloom | Observe overlapping, shape, and texture |
| Sepals | Leaf-like parts beneath petals | Add natural support to the bloom |
| Stem | Central support of the flower | Maintain consistent thickness and gentle curvature |
| Leaves | Vary in size and texture | Observe veins and how they attach to stems |
| Pistil & Stamen | Central reproductive parts | Useful for detailed or close-up drawings |
By recognizing these structural elements, artists can break down even complex flowers into simple geometric forms. For instance, a rose can begin as overlapping ovals, while a daisy can start from a circle divided into symmetrical petals.
4. Step-by-Step Guide to Drawing a Flower
Let’s walk through a step-by-step process to draw a simple but elegant flower. We’ll use a hibiscus as our example because of its balanced form and distinctive petals.
Step 1: Basic Shapes
Start with a light pencil sketch. Draw a circle for the center and lightly mark lines radiating outward to indicate petal placement. These guidelines help maintain symmetry.
Step 2: Outline Petals
Sketch large, rounded petals following the guide lines. Avoid making them identical—natural flowers have slight imperfections that add realism.
Step 3: Add Details
Define the folds and curves of each petal. Draw fine lines near the base to represent texture and depth. Add the stamen extending from the center.
Step 4: Draw the Stem and Leaves
Attach a gently curved stem below the flower. Add leaves on either side, observing how they grow from the stem’s nodes.
Step 5: Shading and Depth
Shade lightly near the petal folds and base. Use blending techniques to create smooth transitions between light and dark. This gives your flower dimension.
Step 6: Final Touches
Erase construction lines, darken outlines selectively, and add highlights with an eraser or white pencil. If using color, begin with light layers and gradually build up intensity.
5. Techniques for Realistic Flower Drawing
Realism in flower drawing comes from mastering light, shadow, and texture. Here are some professional techniques that help bring your art to life:
1. Layered Shading
Build tones gradually using light pressure. Layering gives petals a soft, natural look instead of harsh shading.
2. Cross-Hatching
For ink or pencil sketches, use cross-hatching to represent shading. Keep strokes following the petal’s curvature for realism.
3. Gradient Transitions
In colored drawings, transition from darker to lighter shades along the petal edges to mimic sunlight.
4. Edge Variation
Use softer lines on distant petals and sharper ones on foreground petals to create depth.
5. Negative Space Observation
Pay attention to spaces between petals — these “negative spaces” help balance the composition and make flowers appear natural.
6. Different Styles of Flower Drawing
Flower drawing is not limited to realism. Artists express floral beauty through various styles, each with its charm and technique.
| Style | Description | Common Tools |
|---|---|---|
| Realistic | Focuses on lifelike detail, accurate shading | Graphite, colored pencils |
| Line Art | Simplified outline drawings emphasizing form | Ink pens, markers |
| Botanical Illustration | Scientific yet artistic depiction for accuracy | Watercolor, ink, fine liners |
| Abstract | Creative and emotional interpretation | Mixed media, digital art |
| Stylized/Cartoon | Simplified shapes with exaggerated colors | Markers, digital tools |
Exploring different styles helps develop your personal artistic voice. You may start with realism and later enjoy the expressive freedom of stylized floral art.
7. Common Flowers to Practice Drawing
Beginners should start with simple forms before progressing to complex structures. Below is a list of flowers categorized by difficulty level:
| Level | Flowers | Reason |
|---|---|---|
| Beginner | Daisy, Tulip, Sunflower | Simple shapes, symmetrical petals |
| Intermediate | Rose, Lily, Hibiscus | Complex overlapping petals, shading depth |
| Advanced | Orchid, Lotus, Peony | Intricate forms, multiple layers, detailed textures |
Practicing various flowers helps you understand how nature’s geometry changes across species. Each flower teaches a new skill — symmetry, overlapping, proportion, or texturing.
8. Using Colors in Flower Drawings
Color brings life to your floral sketches. Understanding color theory and blending techniques can transform flat drawings into vivid compositions.
Tips for Coloring:
- Start with Light Layers: Build colors gradually to control intensity.
- Observe Nature: Notice how petals aren’t one solid color—they shift from light to dark.
- Use Complementary Backgrounds: A contrasting background makes your flower pop.
- Blend Smoothly: Use tissue or blending pencils for seamless gradients.
- Highlight Naturally: Keep some white areas for reflected light instead of coloring every part.
| Color Scheme | Effect | Example |
|---|---|---|
| Monochromatic | Peaceful, elegant | Shades of pink for roses |
| Complementary | Bold, eye-catching | Purple flowers with yellow centers |
| Analogous | Harmonious | Red, orange, and yellow tulips |
Coloring flowers can be meditative. It’s not just about choosing pretty colors—it’s about expressing mood, light, and emotion.
9. Digital Flower Drawing
Digital tools like Procreate, Photoshop, and Clip Studio Paint have revolutionized how artists draw flowers. The advantage lies in flexibility—easy corrections, layering, and access to countless brushes.
Tips for Digital Flower Drawing:
- Use layers for petals, shading, and background separately.
- Apply pressure sensitivity for natural strokes.
- Experiment with custom brushes that mimic watercolor or pencil textures.
- Zoom in for detailing but zoom out often to check composition balance.
Even digitally, the principles of observation and structure remain the same. The difference is in technique, not vision.
10. Flower Drawing for Mindfulness and Therapy
Art therapy often uses flower drawing to promote relaxation and emotional healing. The repetitive motion of sketching petals, the calmness of shading, and the focus on natural forms help reduce stress and improve concentration.
Drawing flowers can be a mindfulness exercise: when you draw slowly and consciously, you immerse yourself in the moment. It’s a quiet conversation with nature — each line a reflection of your inner calm.
| Benefit | Description |
|---|---|
| Stress Relief | Drawing rhythmically reduces anxiety and tension |
| Focus Enhancement | Observing floral details improves concentration |
| Emotional Expression | Colors and shapes allow safe emotional release |
| Confidence Boost | Seeing improvement motivates creative growth |
11. Symbolism of Flowers in Art
Flowers have carried symbolic meanings across cultures and centuries. Knowing these associations adds depth to your drawings, especially if your work aims to convey emotion or narrative.
| Flower | Symbolism |
|---|---|
| Rose | Love, passion, beauty |
| Lily | Purity, renewal, peace |
| Lotus | Enlightenment, spiritual awakening |
| Sunflower | Joy, loyalty, positivity |
| Orchid | Luxury, elegance, refinement |
| Daisy | Innocence, simplicity, youth |
Integrating symbolism into your drawing makes it more than just an image — it becomes a story. For instance, combining a rose and a lily could symbolize a balance between love and purity.
12. Advanced Techniques and Composition Tips
Once you’re comfortable with basic flowers, experiment with composition and artistic storytelling.
Composition Techniques:
- Rule of Thirds: Place the main flower off-center for visual balance.
- Leading Lines: Use stems and leaves to guide the viewer’s eye.
- Contrast: Combine dark backgrounds with light petals to emphasize form.
- Group Arrangements: Draw bouquets or overlapping flowers for dynamic energy.
Advanced Artistic Effects:
- Backlighting: Add highlights around edges to mimic sunlight filtering through petals.
- Wet-on-Wet Watercolor: For soft transitions between colors.
- Ink and Wash: Combine pen outlines with watercolor shades for a classic look.
Mastering composition elevates your drawings from simple sketches to visually compelling artworks.
13. Common Mistakes to Avoid
Every beginner faces challenges. Recognizing them early helps improve faster.
| Mistake | Why It Happens | How to Fix It |
|---|---|---|
| Over-darkening outlines | Pressing too hard early on | Use light strokes until final detailing |
| Ignoring light source | Random shading | Decide on one direction for lighting |
| Uniform petals | Lack of observation | Study real flowers or photos |
| Flat coloring | No value contrast | Add shading and highlights |
| Overcrowded composition | Trying to fit too much | Focus on one or two main flowers |
Remember: mistakes are part of the creative process. Every line drawn teaches control, rhythm, and sensitivity.
14. Flower Drawing for Different Age Groups
Flower drawing appeals to all ages, from children discovering shapes to adults pursuing creative relaxation.
| Age Group | Approach | Focus |
|---|---|---|
| Children | Simple outlines and bright colors | Coordination and creativity |
| Teens | Exploring shading and perspective | Technique and style development |
| Adults | Realistic or expressive forms | Mindfulness and artistic growth |
| Seniors | Gentle coloring, soft strokes | Relaxation and cognitive stimulation |
Each stage offers unique benefits. Encouraging people of all ages to draw flowers fosters appreciation for both art and nature.
15. Turning Flower Drawings into Art Projects
Your floral sketches can evolve into creative projects. Here are a few ideas:
- Greeting Cards: Hand-drawn flowers add personal warmth.
- Wall Art: Frame your colored floral artwork.
- Fabric Prints: Scan and print your designs on textiles.
- Digital Stickers or Logos: Use simplified floral line art for branding.
- Art Journals: Combine flower drawings with quotes or poetry.
Creativity blooms when you see your art as more than practice — as a way to beautify everyday life.
16. Practicing Daily: Building a Habit
Consistency matters more than perfection. Draw a flower each day — even a small one. Practice observing and capturing subtle differences. Over time, you’ll see your lines become more confident, your shading smoother, and your imagination freer.
30-Day Flower Drawing Challenge Example
| Day | Flower Type | Focus |
|---|---|---|
| 1 | Daisy | Basic shape |
| 5 | Tulip | Smooth gradients |
| 10 | Rose | Layered petals |
| 15 | Lily | Curved lines |
| 20 | Sunflower | Detailed center |
| 25 | Orchid | Asymmetry |
| 30 | Mixed Bouquet | Composition |
Such challenges keep you motivated and accelerate artistic growth.
17. The Emotional Connection with Flowers
Flowers speak a universal language. When you draw them, you’re not only copying forms but also channeling emotions — serenity, joy, nostalgia, love, or gratitude. Many artists find comfort in drawing flowers because they embody both fragility and strength. Each petal is temporary, yet their beauty remains immortal through art.
Flower drawing reminds us to slow down, observe, and appreciate life’s fleeting yet beautiful moments.
Conclusion
Flower drawing is more than an artistic skill; it’s a journey of mindfulness, observation, and creative growth. From understanding anatomy and structure to experimenting with colors, styles, and compositions, every step deepens your connection with nature’s rhythm. Whether drawn in graphite or painted digitally, flowers continue to inspire artists across ages and cultures.
By practicing regularly, observing carefully, and drawing with feeling, you transform simple lines into living art — timeless tributes to the natural beauty around us.
FAQs
1. What is the easiest flower to draw for beginners?
Daisies and tulips are great starting points because they have simple, symmetrical shapes that help beginners understand proportion and petal placement.
2. How can I make my flower drawings look realistic?
Focus on light direction, smooth shading, and overlapping petals. Observe how real flowers interact with light and use soft transitions between highlights and shadows.
3. Which medium is best for flower drawing?
Graphite pencils are ideal for beginners, while colored pencils and watercolors suit intermediate artists seeking vibrant, lifelike results. Digital tools work well for modern art styles.
4. How do I choose the right paper for flower drawing?
For graphite or ink, use smooth paper (around 100–150 gsm). For watercolor or mixed media, choose thicker, textured paper (200 gsm or higher) to prevent warping.
5. Why is flower drawing considered therapeutic?
Drawing flowers encourages focus, calmness, and emotional expression. The repetitive, rhythmic motion of sketching petals promotes mindfulness and reduces stress.
