
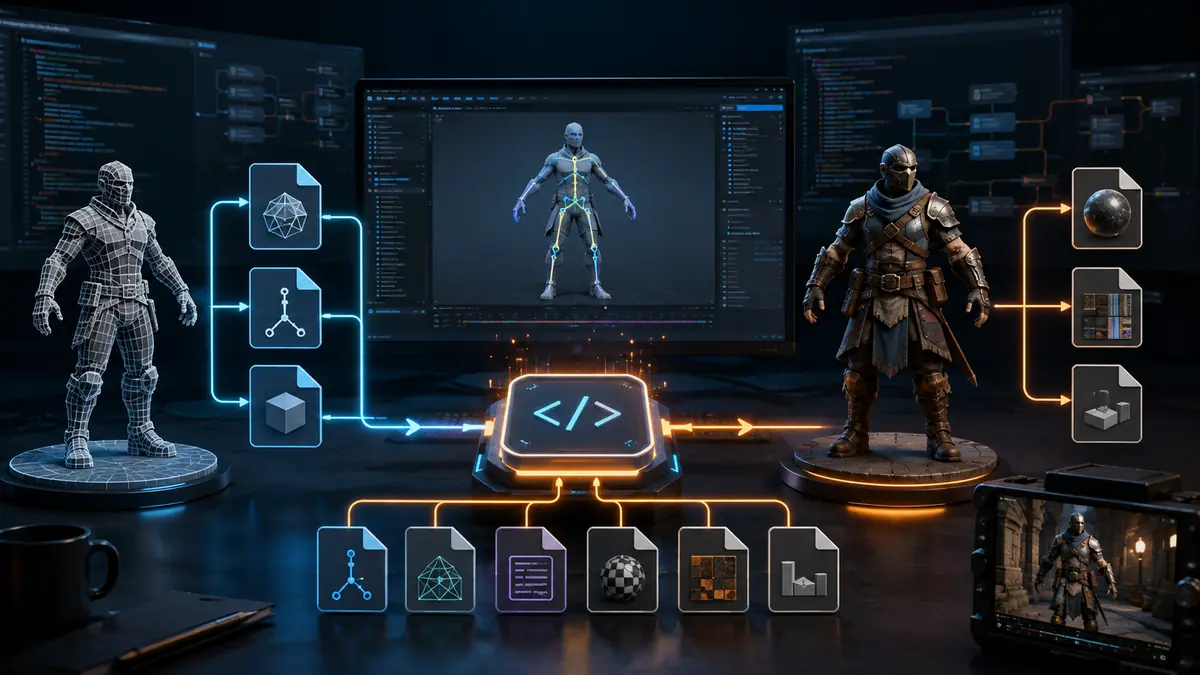

A model can look flawless in Blender yet appear invisible, untextured, or frozen in a T-pose when placed in Source Filmmaker. The problem is usually not the model itself. Source Filmmaker cannot directly use most raw 3D files; they must first pass through the correct compilation pipeline.
sfmcompile is the workflow for converting source models, materials, animations, and maps into formats supported by Source Filmmaker. Model compilation commonly turns SMD or DMX files and QC instructions into MDL-related files, while textures become VTF and VMT files and Hammer maps become BSP files.
The term is sometimes presented online as if it refers to a single official application. In practice, it usually describes a collection of Source Engine processes and utilities rather than one standard Valve program. Understanding that distinction helps you choose trustworthy tools and troubleshoot the correct part of your project.
What Is sfmcompile?
sfmcompile refers to preparing and converting custom content so that Source Filmmaker, commonly shortened to SFM, can load it through the Source Engine.
Source Filmmaker was developed by Valve as an animation and filmmaking environment built around Source Engine technology. Its asset pipeline is different from the direct-import systems used by applications such as Blender, Maya, Unity, and Unreal Engine.
For example, SFM does not normally load a .blend or .fbx file as a finished character. The asset must be exported into an intermediate Source format, described by a QC script, and processed by a model compiler.
A typical model pipeline looks like this:
Blender or Maya source file ↓SMD or DMX exports ↓QC compilation script ↓studiomdl.exe or Crowbar ↓MDL, VVD, VTX and optional PHY files ↓Source Filmmaker
Textures and maps follow separate pipelines. This separation is one of the most confusing parts of Source asset creation for newcomers.
Compilation Is Not the Same as Rendering
Compiling prepares assets for the engine. Rendering produces the final frames of an animation.
| Process | Input | Output | Main purpose |
|---|---|---|---|
| Model compilation | SMD or DMX files plus a QC script | MDL, VVD, VTX and sometimes PHY | Makes a model usable in SFM |
| Texture conversion | PNG, TGA or another source image | VTF and VMT | Makes a material readable by Source |
| Map compilation | VMF map source | BSP map | Makes a Hammer map loadable |
| Movie rendering | An SFM session and animation | Image sequence or video | Produces the finished visual output |
Some guides use “SFM compile” as a loose term for exporting a movie. That usage can cause troubleshooting mistakes. If a character is invisible or has missing materials, you have an asset problem. If the model works but the final video contains corrupted frames, you have a rendering or export problem.
How the sfmcompile Model Pipeline Works
Source model compilation takes several separate components and connects them through a QC file. The compiler then generates the binary files required by the engine.
Source Mesh and Skeleton Files
The visible geometry, UV coordinates, skeleton, vertex weights, reference pose, flex data, and animation sequences are normally exported as SMD or DMX files.
SMD is an older, text-based format widely supported by Source tools. It is straightforward to inspect and remains a practical choice for props, basic characters, skeletons, and animation sequences.
DMX can carry more complex data and is often preferred when facial flexes or advanced Source Filmmaker features are required. Compatibility depends on the export configuration and the branch of the Source Engine being targeted.
Neither format is a finished model that users should place directly in SFM. They are inputs for the compiler.
The QC Script
A QC file is a plain-text instruction sheet read by studiomdl.exe. It identifies the source files and tells the compiler how the finished model should behave.
A simplified prop script might look like this:
$modelname "custom/wooden_crate.mdl"$body "body" "wooden_crate.smd"$cdmaterials "models/custom/wooden_crate/"$surfaceprop "wood"$sequence "idle" "wooden_crate.smd" fps 1$staticprop
Common QC commands include:
$modelnamefor the compiled model’s destination and name$bodyor$modelfor the primary mesh$cdmaterialsfor the material search path$sequencefor animations$surfacepropfor surface behavior$collisionmodelfor physics geometry$attachmentfor attachment points$texturegroupfor selectable skins$includefor splitting complex instructions across files
The exact commands needed depend on whether the asset is a static prop, rigged character, facial model, weapon, vehicle, or animated object.
Compiled Model Files
A successful compile usually creates more than one file:
| File | Function |
|---|---|
.mdl | Main model metadata and header |
.vvd | Vertex data |
.dx90.vtx | Mesh strip and hardware rendering data |
.phy | Optional physics and collision information |
.ani | External animation data in some configurations |
These companion files belong together. Copying only the MDL file can leave a model invisible or unloadable because the engine cannot find its vertex or mesh data.
Quick takeaway: Treat a compiled model as a package, not a single MDL file.
Tools Needed for Source Filmmaker Compilation
There is no need to download an unknown program simply because it is labelled “SFMCompile.exe.” The established workflow relies on recognizable Source modding tools.
Source Filmmaker and studiomdl
A standard Source Filmmaker installation includes the engine files and studiomdl.exe, Valve’s command-line model compiler. Installing SFM through Steam also supplies the expected folder structure, shared libraries, gameinfo.txt, and model-viewing utilities.
Launch Source Filmmaker at least once before configuring external tools. This allows Steam and SFM to finish creating required folders and settings.
Blender and Blender Source Tools
Blender is frequently used to edit meshes, create armatures, assign vertex weights, build shape keys, and prepare animations.
Blender does not export Source formats by default. The community-maintained Blender Source Tools add-on adds SMD and DMX export support. Export compatibility should always be checked against the Blender and add-on versions being used.
Crowbar
Crowbar provides a graphical interface for several Source model operations. It can:
- Run model compiles using a QC file
- Display the full compiler log
- Decompile supported Source models
- Configure the target game and output path
- Simplify repeated testing
Crowbar does not replace the QC script or correct a broken model automatically. It calls the appropriate Source tools and makes their output easier to manage.
Use the established Crowbar GitHub repository rather than an unverified executable from an unfamiliar download page.
VTFEdit or a Compatible Texture Utility
Source materials normally use:
- VTF, the Valve Texture Format containing image data
- VMT, the Valve Material Type script describing how the texture is rendered
VTFEdit is a familiar tool in older Source workflows. Community-maintained alternatives may be preferable on newer systems, but the fundamental VTF/VMT relationship remains the same.
HLMV and Hammer Editor
Half-Life Model Viewer, commonly called HLMV, helps inspect a compiled model before it is used in an animation. It can expose incorrect materials, broken sequences, bad bounds, unwanted bones, and collision problems.
Hammer Editor is used to create VMF map sources. Map compilation then processes those sources into BSP files through VBSP, VVIS, and VRAD.
How to Compile a Custom Model for SFM
The safest approach is to begin with a simple prop. A rigged character introduces bones, animations, flexes, bodygroups, attachments, and physics, making it harder to isolate beginner mistakes.
1. Organize the Project
Keep editable source assets outside the game’s compiled-content directories.
A clear workspace might contain:
project/├── model_source/├── animations/├── textures_source/├── qc/└── compiled_test/
Inside SFM, compiled assets normally belong under paths similar to:
SourceFilmmaker/game/usermod/models/SourceFilmmaker/game/usermod/materials/
Using a dedicated folder such as models/creator/project/ reduces filename conflicts and makes the asset easier to package later.
2. Prepare the Model
Before export, check the following:
- Apply or account for object transforms
- Confirm the model uses the intended scale
- Remove duplicate or unwanted geometry
- Correct reversed normals
- Create a clean UV layout
- Triangulate deliberately when necessary
- Keep bone names stable
- Normalize vertex weights
- Test the reference pose
- Use a simplified collision mesh
Do not use the detailed render mesh as a collision model unless the asset genuinely requires it. Complex collision geometry may fail to compile or perform poorly.
3. Export SMD or DMX Files
Export the reference mesh and any animation sequences separately. A basic rigged character might include:
character_reference.smdcharacter_idle.smdcharacter_walk.smdcharacter_run.smdcharacter_physics.smd
Check the exporter’s axis, scale, armature, flex, and animation settings. A successful export message does not guarantee that the data is correct.
4. Prepare the Textures
Convert source images to VTF and create corresponding VMT files.
A basic material could use:
"VertexLitGeneric"{ "$basetexture" "models/creator/character/body_diffuse" "$bumpmap" "models/creator/character/body_normal"}
The $basetexture path does not include the materials/ prefix or .vtf extension.
If the VTF file is stored here:
materials/models/creator/character/body_diffuse.vtf
the material path should be:
models/creator/character/body_diffuse
A pink-and-black checkerboard almost always means the engine could not resolve a material or texture path. Recompiling the mesh repeatedly will not fix an incorrectly located VMT or VTF file.
5. Write the QC File
Start with the smallest functional script. Compile the reference mesh and one idle sequence before adding flexes, skins, bodygroups, attachments, or multiple animations.
This incremental method makes compiler errors much easier to identify.
A character QC may define:
- Model output path
- Reference mesh
- Material directories
- Skeleton and bone settings
- Animation sequences
- Eye and facial controls
- Bodygroups
- Skins
- Attachments
- Hitboxes
- Physics collision
- Surface properties
Use consistent relative filenames. Moving source files after writing the QC will break its references.
6. Configure Crowbar
In Crowbar:
- Open the Compile tab.
- Select the correct Source Filmmaker game configuration.
- Choose the QC file.
- Confirm the game and output paths.
- Start the compile.
- Read the entire log, not only its final line.
Warnings deserve attention even when the model is generated. A compile can technically succeed while dropping flexes, ignoring an animation, truncating bone weights, or skipping a collision model.
7. Test the Compiled Asset
Inspect the model in HLMV first, then load it in Source Filmmaker.
Verify:
- Scale and orientation
- Materials and normal maps
- Bone hierarchy
- Animation sequences
- Facial flexes
- Bodygroups and skins
- Attachments
- Collision behavior
- Bounding box
- Performance inside a real scene
Testing in stages is faster than adding every feature and then trying to diagnose several problems at once.
Compiling Textures and Materials Correctly
Model and material paths are case-insensitive on many Windows installations, but consistent capitalization is still good practice. It prevents packaging problems and improves portability.
VTF Contains the Image
A VTF may hold:
- Base color
- Normal-map data
- Alpha information
- Mipmaps
- Environment-mask data
- Animated frames
Choose compression based on the texture’s role. A normal map should not be treated exactly like a diffuse texture, and an alpha texture needs a format that preserves the required channel.
VMT Defines the Shader
The VMT tells Source which shader and parameters to use. Common shaders include VertexLitGeneric for models and LightmappedGeneric for map surfaces.
Material problems can appear as:
- Pink-and-black surfaces
- Solid black textures
- Excessive shine
- Missing transparency
- Inverted-looking normal maps
- Materials visible in HLMV but not SFM
Check the VMT syntax, shader choice, $basetexture path, file location, alpha settings, and normal-map configuration before changing the mesh.
How sfmcompile Works for Custom Maps
Map compilation is a separate process from model compilation. A Hammer map begins as an editable VMF file and is compiled into a BSP file.
Three principal tools handle the process:
- VBSP converts brushes and entities into basic BSP geometry.
- VVIS calculates visibility information used to determine which parts of the map need to be drawn.
- VRAD calculates and bakes lighting.
A map can pass VBSP yet still fail during VVIS or VRAD. The compile log shows which stage stopped.
Fast Versus Final Map Compiles
Use a fast compile while checking basic geometry, entity placement, and leaks. Use a complete visibility and lighting compile when evaluating the final scene.
| Compile type | Best use | Limitation |
|---|---|---|
| Geometry-only or very fast | Checking whether the map opens | Lighting and visibility are incomplete |
| Fast preview | Testing layout changes | Shadows and optimization may be inaccurate |
| Full compile | Final lighting and performance checks | Takes longer |
Common Map Problems
A leak occurs when the sealed world connects to the void. Use Hammer’s pointfile to locate the path instead of randomly adding large sealing brushes.
Other common problems include:
- Invalid brush geometry
- Brushes outside the permitted world
- Missing materials
- Overly complex visibility calculations
- Excessive lightmap resolution
- Static props with missing models
- Incorrect game configuration
- BSP files written to the wrong folder
Maps should be optimized structurally. A faster processor cannot compensate for uncontrolled visibility, excessive brush complexity, or unnecessarily expensive lightmaps.
Common Compilation Errors and Reliable Fixes
Compiler output often looks intimidating, but most failures belong to a few recognizable categories.
| Symptom or message | Likely cause | Practical fix |
|---|---|---|
| Model is invisible | Missing companion files or invalid model path | Keep MDL, VVD and VTX files together; verify $modelname |
| Pink-and-black texture | Missing VMT/VTF or wrong $cdmaterials path | Trace the complete material path and filename |
| Model appears in T-pose | Sequence missing or skeleton mismatch | Re-export animations with the same bone hierarchy |
| Model is the wrong size | Unit or transform mismatch | Correct scale before export and test with a known reference |
| Rotated or lying down | Axis conversion is incorrect | Review exporter orientation settings |
| Compile cannot find SMD/DMX | Broken relative path | Place sources consistently or correct the QC reference |
| Too many bones or weights | Engine limit exceeded | Remove unnecessary bones and reduce vertex influences |
| Physics model rejected | Collision mesh is too complex or invalid | Use a closed, simplified convex collision mesh |
| SFM crashes when loading | Corrupt output, unsupported feature, or bad dependency | Review the compile log and test a minimal QC |
| Map compile reports a leak | World is not sealed | Load the pointfile and repair the opening |
| Black map or props | VRAD failure or lighting configuration issue | Inspect the VRAD stage and light entities |
Why “Model Compiled Successfully” Is Not Enough
Compilation validates whether the compiler can produce output. It does not prove that the asset is visually or functionally correct.
A model may compile while still containing:
- Incorrect material references
- Missing animation sequences
- Broken flex controllers
- Poor vertex weighting
- Oversized bounds
- Inefficient geometry
- Incorrect attachments
- Unusable physics
Always combine log review with HLMV inspection and an in-scene SFM test.
Safer Downloads and Misleading Claims
Search results for sfmcompile include pages that describe downloadable applications with names such as “SFMCompile.exe.” Treat those claims carefully.
Valve’s documented pipeline revolves around Source tools such as studiomdl, QC scripts, SMD or DMX source files, and the appropriate map and material utilities. Crowbar is a recognized community front end, but a random executable using a similar name is not automatically official or necessary.
Before running any third-party download:
- Confirm the developer and original release page
- Prefer established GitHub repositories or long-standing modding communities
- Scan the archive with current security tools
- Avoid packages that request administrator privileges without a clear reason
- Do not disable antivirus protection to make an unknown compiler run
- Back up QC files, source models, and editable textures
- Verify that instructions match Valve’s documented asset structure
A compiler cannot automatically optimize any high-poly model, repair a rig, create correct materials, and solve every error with one click. Claims of a completely automatic pipeline should be viewed skeptically.
Practical Optimization for Faster Iteration
The goal is not merely to make the compile finish. The finished asset should also remain manageable inside Source Filmmaker.
Work Incrementally
Compile a reference model first. Then add materials, followed by animations, physics, bodygroups, and facial features.
When a problem appears, the most recent change becomes the first thing to inspect.
Keep Source and Compiled Files Separate
Editable SMD, DMX, QC, TGA, PNG, Blend, and Maya files should not be mixed indiscriminately with finished MDL and VTF content.
Separation prevents accidental packaging of source files and reduces confusion when older outputs remain in the project.
Use Clear Namespaces
Instead of placing a model directly under models/character.mdl, use a distinctive path:
models/creator_name/project_name/character.mdl
Apply the same pattern to materials. This lowers the chance that Workshop assets or another creator’s files will overwrite yours.
Preserve Logs
Save logs for complex models and final map builds. A past successful compile provides a useful baseline when a later change introduces warnings or failure.
Test on a Clean Content Setup
An asset may work on the creator’s computer because another installed addon supplies a missing material or model. Test packaged content in a clean mod folder when possible.
This catches hidden dependencies before the project is shared through the Steam Workshop, SFMLab, or another distribution platform.
Where sfmcompile Fits in a Complete SFM Workflow
Compilation sits between asset creation and scene production:
- Create or edit the mesh in Blender, Maya, or another 3D package.
- Build the UV layout, rig, vertex weights, flexes, and animations.
- Export model data as SMD or DMX.
- Convert textures to VTF and define materials with VMT files.
- Describe the model through a QC script.
- Compile it with
studiomdldirectly or through Crowbar. - Inspect the output in HLMV.
- Test the model, materials, animation, and physics in SFM.
- Build the scene using the Clip Editor, Motion Editor, and Graph Editor.
- Render the finished animation as an image sequence or another suitable output.
This order prevents asset compilation from being confused with animation rendering. It also gives each error a clear place in the pipeline.
Final Takeaway
sfmcompile is best understood as the Source Filmmaker asset-building workflow, not as a guaranteed one-click program. Models require SMD or DMX source data, QC instructions, and studiomdl; textures require VTF images and VMT materials; maps require VMF-to-BSP processing through VBSP, VVIS, and VRAD.
For the smoothest start, compile one simple prop, inspect every warning, confirm it in HLMV, and test it inside Source Filmmaker before attempting a complete character or custom map. Once those paths and file relationships make sense, most compilation errors become traceable technical issues rather than mysterious SFM failures.
