Postcrete has become a go-to solution for professionals and DIY enthusiasts when it comes to fixing fence posts, signposts, or even small garden structures. It is known for its convenience, speed, and reliability compared to traditional concrete mixing methods. In this detailed guide, we will explore exactly what postcrete is, its composition, why it’s used, how to apply it effectively, and tips for ensuring long-lasting results.
Understanding Postcrete
Postcrete is a pre-mixed, ready-to-use product designed specifically for setting posts in the ground. Unlike traditional concrete, which requires careful proportioning of cement, sand, gravel, and water, postcrete comes as a dry mix that you simply pour into a hole and add water to. The formula is designed to harden quickly, often within 5–10 minutes, making it ideal for situations where speed and stability are critical.
This product is not meant for structural concrete work or large-scale construction projects. Instead, it is optimized for smaller jobs that demand secure anchoring without lengthy curing times. The controlled mix ensures consistent results regardless of the user’s skill level.
Composition of Postcrete
While specific formulas vary between brands, postcrete generally contains:
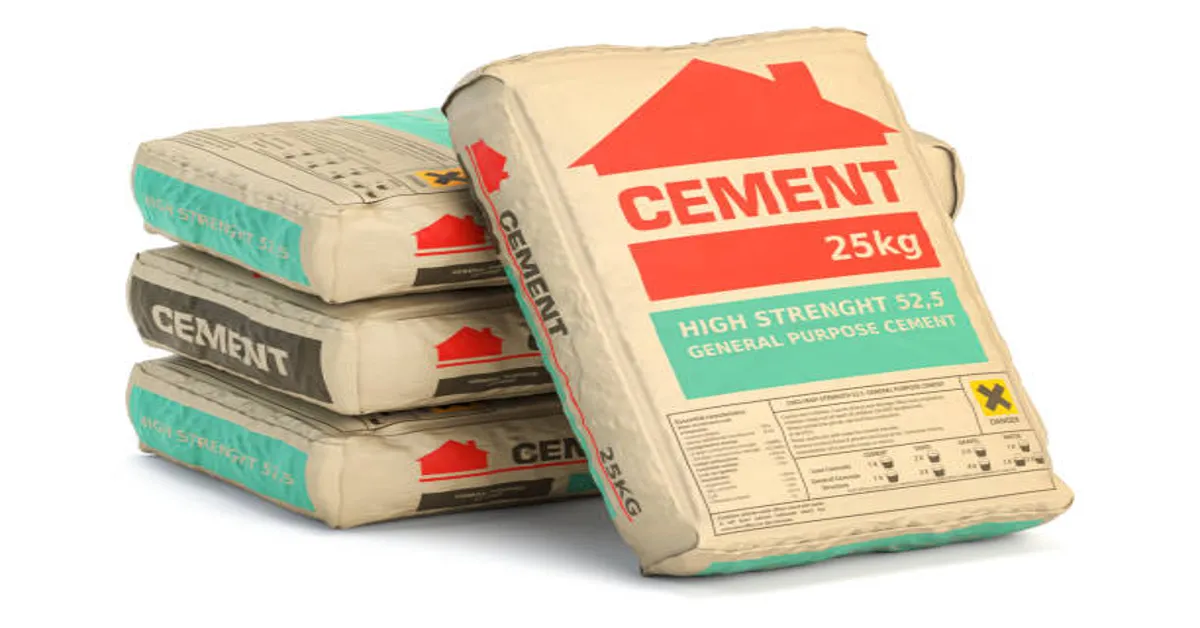
- Portland cement – the primary binding agent that hardens and holds the aggregate together.
- Graded aggregates – small stones or sand particles that give the mix structure and strength.
- Additives – chemical components that speed up setting time and enhance bonding, even in damp conditions.
Because it’s factory-mixed, postcrete guarantees uniform quality, eliminating the risk of weak spots caused by improper mixing.
Benefits of Postcrete
1. Speed and Convenience
Postcrete’s biggest advantage is its rapid setting time. Once water is added, the chemical reaction starts immediately, and posts can be secure within minutes. This makes it particularly useful for projects where you cannot afford to wait days for the mix to cure before continuing work.
2. Consistent Quality
Since it is pre-mixed under controlled conditions, every bag of postcrete has the same composition. This removes the guesswork involved in measuring and mixing ingredients, reducing the likelihood of errors.
3. No Mixing Equipment Required
Postcrete can be poured directly from the bag into the hole, followed by water. This means there is no need for wheelbarrows, mixers, or shovels to prepare the mix.
4. Cost-Effectiveness
While postcrete may seem more expensive per kilogram than bulk concrete mix, its ease of use and time savings often make it more economical, especially for small-scale jobs.
5. Durability
When used correctly, postcrete can create a strong, weather-resistant base for posts, resisting shrinkage and cracking over time.
Common Uses of Postcrete
1. Fence Post Installation
Whether you are erecting a garden fence or a property boundary, post crete ensures that posts remain upright and secure without prolonged wait times.
2. Gate Posts
Gates require stable foundations to function properly. Post crete provides the necessary anchoring strength to withstand repeated opening and closing.
3. Signage and Street Furniture
From road signs to bollards, post crete can fix poles and supports securely in both urban and rural environments.
4. Garden Structures
Arbors, trellises, and pergolas often need posts sunk into the ground. Post crete offers a quick solution that blends convenience with strength.
5. Temporary Structures
If you need to set up temporary event fencing or poles, post crete can be used, knowing that removal later is still possible with the right tools.
How to Use Postcrete: Step-by-Step Guide
Step 1: Preparation
Choose the correct location and mark where the post will go. Use a post hole digger or spade to create a hole deep enough to support the post — typically one-third of the post’s total height should be underground. The hole should be slightly wider than the post to allow space for the post crete.
Step 2: Positioning the Post
Place the post into the hole and ensure it is vertical using a spirit level. Use temporary supports or bracing to hold it in position while you work.
Step 3: Adding Postcrete
Pour the dry post crete directly into the hole around the post. Fill to just above ground level if desired. The amount required depends on the hole’s size and the manufacturer’s recommendations.
Step 4: Adding Water
Immediately after adding post crete, pour the required amount of clean water over the dry mix. Typically, about 2.5–3 liters per bag is used, but always check packaging instructions.
Step 5: Setting and Adjustment
The mix will begin to set within minutes, so make any adjustments to the post’s position quickly. After 5–10 minutes, the post will be stable, but avoid heavy loads for 24 hours to allow full curing.
Tips for Best Results
- Work Quickly: Post crete sets fast, so have everything ready before opening the bag.
- Avoid Overwatering: Excess water can weaken the mix, so measure carefully.
- Weather Considerations: In very hot or windy conditions, setting may happen even faster; in cold conditions, curing may slow slightly.
- Use Proper Drainage: For wooden posts, add a layer of gravel at the bottom of the hole to help prevent rot by improving drainage.
- Stirring: Some installers like to poke the mix with a rod after adding water to ensure even distribution, though some brands advise against mixing at all.
Safety Precautions
Post crete contains cement, which can cause skin irritation or burns. Always wear gloves and avoid inhaling dust. Wash off any splashes immediately and follow the safety instructions on the bag. Keep the product away from children and animals.
Postcrete vs. Traditional Concrete
While traditional concrete is more versatile and can be used for large slabs, foundations, and structural elements, post crete is a specialized product for setting posts quickly. The main trade-off is flexibility versus speed — post crete is faster but not suitable for all types of concrete work.
| Feature | Postcrete | Traditional Concrete |
|---|---|---|
| Setting Time | 5–10 minutes | Several hours |
| Mixing Required | No | Yes |
| Strength Over Time | High (for posts) | Very high (structural) |
| Versatility | Limited | Wide range of uses |
| Skill Level Needed | Low | Moderate |
Long-Term Performance
When installed correctly, post crete can hold posts securely for many years. The product’s resistance to weathering makes it ideal for outdoor use. However, it’s important to ensure the post itself — particularly if it is wood — is treated and protected to match the longevity of the base.
Environmental Considerations
Some postcrete products now come with reduced-carbon cement options or use recycled aggregates. While cement production remains a contributor to CO₂ emissions, choosing eco-conscious brands and only using as much product as necessary can help reduce environmental impact.
ALSO READ: Tufnell Park: A Complete and In-Depth Guide
FAQs About Postcrete
1. How long before I can use the post after applying postcrete?
Posts are usually secure within 10 minutes, but it’s best to avoid heavy use or load for 24 hours to allow full curing.
2. Can postcrete be used in wet conditions?
Yes, most postcrete products can be applied in damp soil, but excessive standing water in the hole should be removed first.
3. Is postcrete stronger than concrete?
For its intended purpose — setting posts — postcrete is sufficiently strong. However, for structural or load-bearing applications, traditional concrete is stronger and more versatile.
4. Can I mix postcrete in a bucket instead of in the hole?
While possible, it is generally designed to be poured dry into the hole and then watered to ensure proper setting.
5. Does postcrete expire?
Yes. Like all cement-based products, postcrete has a shelf life, usually around 12 months from manufacture. Store it in a dry place to prevent moisture damage.


