
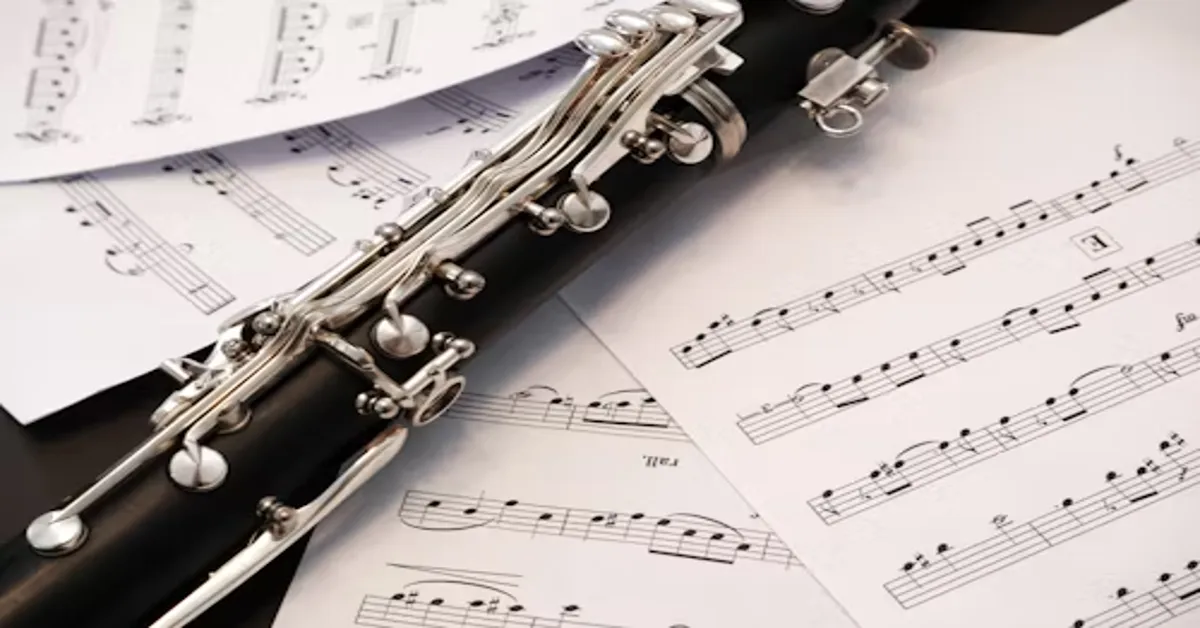
The clarinet, known for its wide range and dynamic expressiveness, is one of the most versatile instruments in both classical and modern music. From concert bands to jazz ensembles, and from orchestral settings to solo performances, the clarinet stands out as an essential woodwind instrument. However, mastering the clarinet involves more than just breath control and embouchure technique—it demands a deep understanding of finger positioning and note production. At the heart of this lies the clarinet fingering chart, an essential tool for every clarinetist, regardless of their level of expertise.
The fingering chart not only shows which keys to press for each note but also helps clarify alternative fingerings, register transitions, and techniques that promote smoother, more efficient playing. In this comprehensive article, we’ll explore the entire scope of the clarinet fingering chart: what it is, how it works, why it’s crucial for your progress, and how to apply it in real-world musical scenarios. Whether you’re just picking up the instrument or looking to refine your technique as an intermediate or advanced player, understanding and mastering the clarinet fingering chart will drastically improve your confidence and fluency.
Understanding the Basics of Clarinet Fingerings
Before diving into the chart itself, it’s important to understand how clarinet fingerings relate to the instrument’s construction. The clarinet is a single-reed woodwind instrument with a cylindrical bore and a complex system of keys and tone holes. These tone holes are covered and uncovered by pressing various combinations of keys with your fingers. Unlike string instruments, where pitch can be adjusted subtly by finger placement, the clarinet relies entirely on fingerings and air control for intonation and pitch production.
The standard clarinet used by most beginners is the B♭ clarinet, which transposes written music down a whole step. This means that when you see a “C” on sheet music, it sounds as a “B♭” in concert pitch. Therefore, the fingering chart you use must be tailored specifically to the clarinet type you are playing. While the B♭ clarinet is most common, other variations include the E♭, A, bass clarinet, and contrabass clarinet—each with similar but slightly varied fingering systems.
Anatomy of the Clarinet and Finger Placement
To fully grasp the chart, you need to be familiar with the clarinet’s physical layout. The clarinet is held vertically in front of the player. The left hand operates the upper joint while the right hand controls the lower joint. Each finger is assigned to specific tone holes and keys:
- Left Hand:
- Thumb (T): Operates the register key (on the back)
- Index (1), Middle (2), Ring (3): Cover top three holes on the upper joint
- Right Hand:
- Index (4), Middle (5), Ring (6): Cover three holes on the lower joint
- Pinkies (L and R): Control the complex system of side and spatula keys for the lower notes, chromatic alterations, and trills
Each fingering is represented by a combination of these numbers or symbols. When reading a fingering chart, a filled-in circle or a marked key usually indicates that a key is to be pressed.
How to Read a Clarinet Fingering Chart
Clarinet fingering charts are graphical representations of the clarinet’s key layout, with each circle representing a key or tone hole. Here’s how to interpret a typical chart:
- Blackened or filled-in circles mean the key is pressed down
- Empty or open circles indicate the key is not pressed
- Side keys or pinky keys are often labeled with letters (e.g., L1, R2) to show which hand and finger to use
- Special notation may include half-holing, fork fingerings, or auxiliary key use
Some advanced charts also include notations for trill fingerings, alternate options for enharmonic notes (such as F#/G♭), or adjustment tips to improve intonation.
It’s important to note that clarinet fingering is not always linear or intuitive. For example, to go from A to B♭ in the lower register requires adding a pinky key, rather than just one finger. This is where the chart becomes especially important: it trains your muscle memory by visually mapping out what your fingers must do to produce the correct pitch.
Lower Register (Chalumeau) Fingerings
The lowest register of the clarinet is known as the chalumeau register, named after the instrument’s predecessor. These are the notes from E (lowest note) up to B♭ or C depending on the clarinet’s capabilities. In this range, fingerings are relatively straightforward and involve covering tone holes in a downward sequence:
- E is played with all fingers and the left pinky
- F releases one key from E
- G involves lifting three fingers
- A is just the left index finger
- B♭ and B natural begin to incorporate side keys or pinky keys for half steps
Because these notes are foundational, mastering the fingerings in this register sets the stage for developing fluidity and accuracy. Many beginner exercises and etudes focus heavily on the chalumeau range.
Middle Register (Clarion) Fingerings
The clarion register starts from B natural and extends to about C6, depending on the clarinet model and player ability. These notes are produced by using the register key in conjunction with the same or similar fingerings from the lower register. Essentially, pressing the register key “jumps” the pitch up by a twelfth (an octave plus a fifth), not simply an octave as in most wind instruments.
This aspect of clarinet playing can initially confuse beginners because a simple addition of the register key doesn’t just raise the pitch by one octave. Therefore, developing comfort with register transitions is vital. Players often use slow, deliberate long tones and slurred interval exercises to build control and confidence across the break between chalumeau and clarion ranges.
Examples:
- Low E + Register Key = B
- Low F + Register Key = C
- Low G + Register Key = D
Understanding this logic will make your use of the fingering chart more effective and your transitions more musical.
Upper Register (Altissimo) Fingerings
The altissimo register of the clarinet begins around D6 and extends as high as the player and instrument allow. This range is the most challenging to control and is used in advanced repertoire and contemporary music. Unlike the lower two registers, altissimo fingerings do not follow any consistent pattern and often involve half-holing, venting side keys, and careful manipulation of embouchure and airspeed.
Each note may have multiple acceptable fingerings depending on the musical context. For example, some fingerings offer better tuning but may be slower to execute in fast passages. Others might be slightly flat or sharp but provide quicker transitions.
A fingering chart with altissimo notes should always be approached with patience and practice. Players are advised to consult their teacher or use a tuner to determine which fingerings work best on their instrument.
Alternate and Trill Fingerings
Beyond the basic notes, the fingering chart will also show alternate fingerings that allow for smoother transitions between specific note combinations. These are especially useful in fast passages or awkward interval leaps. For instance, using an alternate fingering for B natural may simplify a fast run involving B and C#.
Trill fingerings, on the other hand, are specific fingerings designed to facilitate rapid alternation between two adjacent notes. These often use side keys or omit certain tone holes to enable faster movement.
Using alternate and trill fingerings properly can significantly improve your musicality and technical fluency. Clarinetists preparing for performance or auditions should practice both standard and alternate options, as some passages will demand flexibility in choice.
Clarinet Fingering Chart for Beginners
For beginners, having a simplified fingering chart is essential. The goal is not to overwhelm but to introduce clear visual associations with the notes being learned. Typically, a beginner fingering chart includes:
- Notes from E to C above the staff
- Clear diagrams for each fingering
- Register key usage shown visually
- Basic pinky key use for low notes
As students advance, they can move to more complex charts showing full-range fingerings, alternates, and trills. It is advisable to keep a printed chart or a mobile app handy for reference during practice sessions.
Clarinet Fingering Chart in Real-Life Practice
Memorizing the chart is only part of the equation. Integrating the knowledge into real-time playing is what transforms skill into artistry. Practice methods include:
- Slow scale practice, referencing the chart as needed
- Long tone exercises to connect register transitions
- Sight-reading etudes to force real-time fingering decisions
- Mirror work or video recording to watch finger movement and spot inconsistencies
- Tactile repetition—closing your eyes and playing a scale to build muscle memory
Instructors often recommend focusing on finger independence, especially for the pinky fingers and side keys. This ensures accurate articulation and faster movement in complex pieces.
Technology and Fingering Charts
Modern players can benefit from a range of digital tools designed to supplement traditional fingering charts. Many mobile apps now offer interactive fingering charts where tapping a note displays the corresponding diagram. These tools can:
- Show alternates and trills with ease
- Offer playback of the note for pitch comparison
- Track personal progress
- Suggest fingerings based on context (e.g., trill speed, note before and after)
While not a replacement for dedicated practice, these tools serve as helpful companions for on-the-go learning or quick reviews during rehearsal breaks.
Conclusion: Mastery Through Understanding
The clarinet fingering chart is more than a set of diagrams; it is a roadmap to musical expression. By learning to interpret and apply this chart, you empower yourself with the freedom to explore the full voice of the clarinet—from the rich depth of the chalumeau register to the brilliance of the altissimo range. Every note, every transition, every trill becomes a choice, a moment of artistry shaped by the technique you develop.
Clarity in finger placement leads to cleaner tone, better intonation, and faster reaction time. For students, the chart provides a foundation. For advanced players, it offers new possibilities and refinements. Regardless of your level, mastering the clarinet fingering chart is one of the most powerful steps you can take on your musical journey.
ALSO READ: Booby Day: Understanding Its Purpose, Significance, and Awareness Impact
FAQs
1. What is a clarinet fingering chart used for?
A clarinet fingering chart shows players which keys to press for each note across different registers, helping build technique and accuracy.
2. Are fingering charts the same for all clarinets?
While many fingerings are similar across clarinet types, variations like the E♭ or bass clarinet may have unique keys and fingerings for some notes.
3. How do I learn alternate and trill fingerings?
Alternate and trill fingerings are often included in advanced fingering charts. Regular practice and guidance from a teacher will help you apply them properly.
4. Why is the clarinet register key important?
The register key helps shift the pitch up by a twelfth and allows access to the clarion and altissimo ranges, essential for full-range performance.
5. Can I use a mobile app instead of a printed fingering chart?
Yes, many interactive apps provide real-time fingering guides and can be useful for practice, though printed charts remain valuable for quick reference.